0.CONTENTS
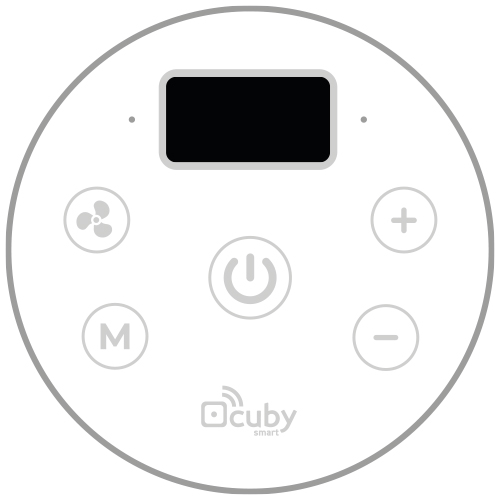
Cuby Aria IR DC
Smart thermostat for air conditioners
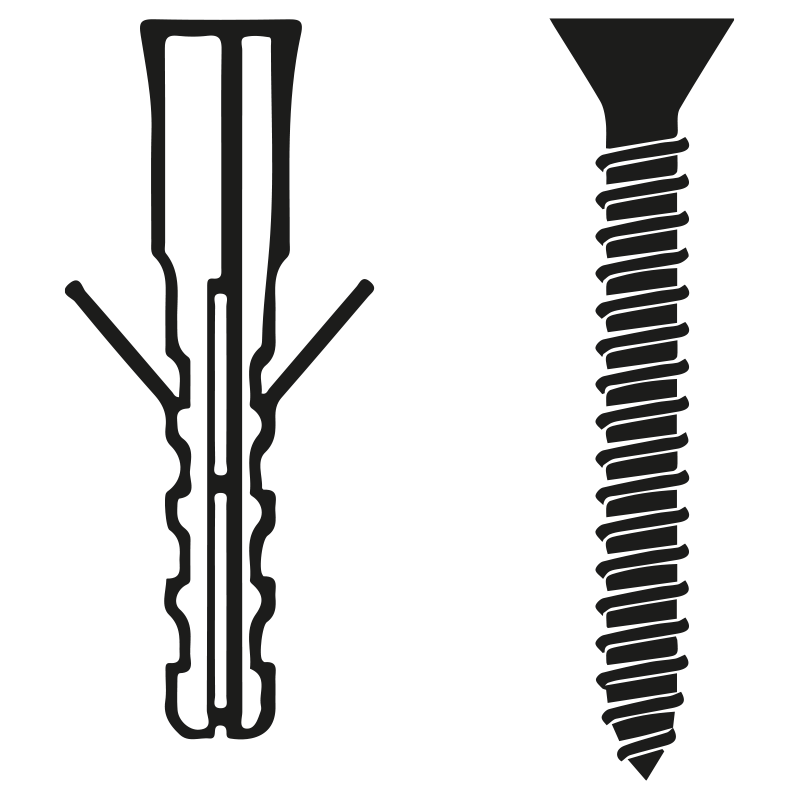
Screws and dowels
If you have drywalls you will need a different type of dowels and screws.
Dissasembly accessory

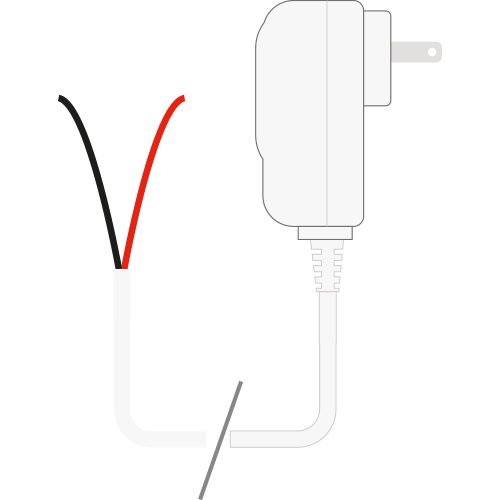
Power chord
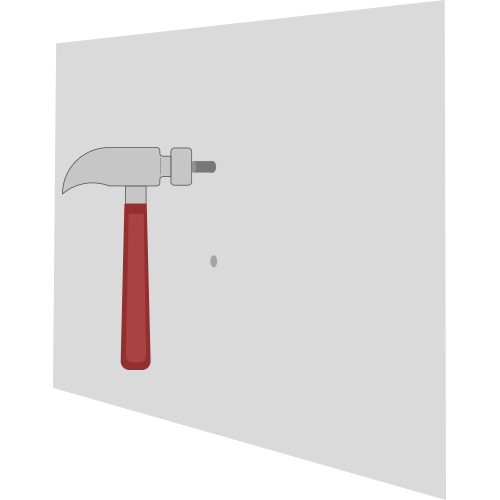
For installation you will need the following:
- Drill
- Smartphone with iOS or Android
- WiFi conection
- Cross Screwdriver
- Hammer
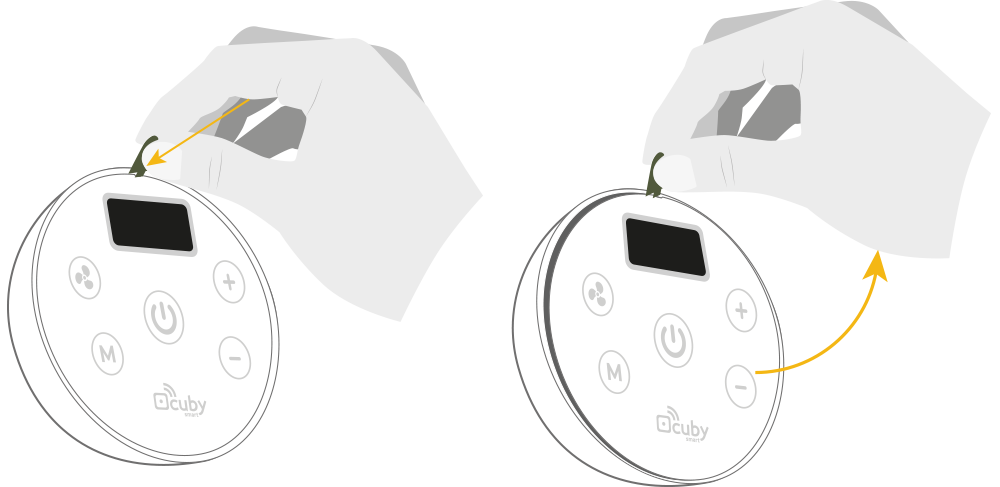
1. REMOVE GLASS PANEL
In order to install the Cuby Aria on the wall, the glass panel must be removed.
- Locate the slot on the edge of the glass as shown in the picture.
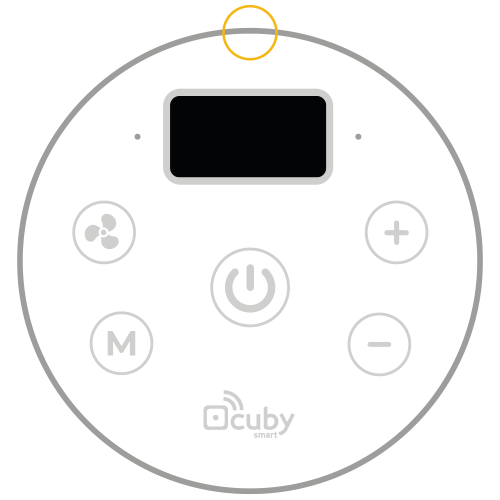
- Insert the dissasembly accessory into the slot and pry upwards, carefully removing the glass panel.
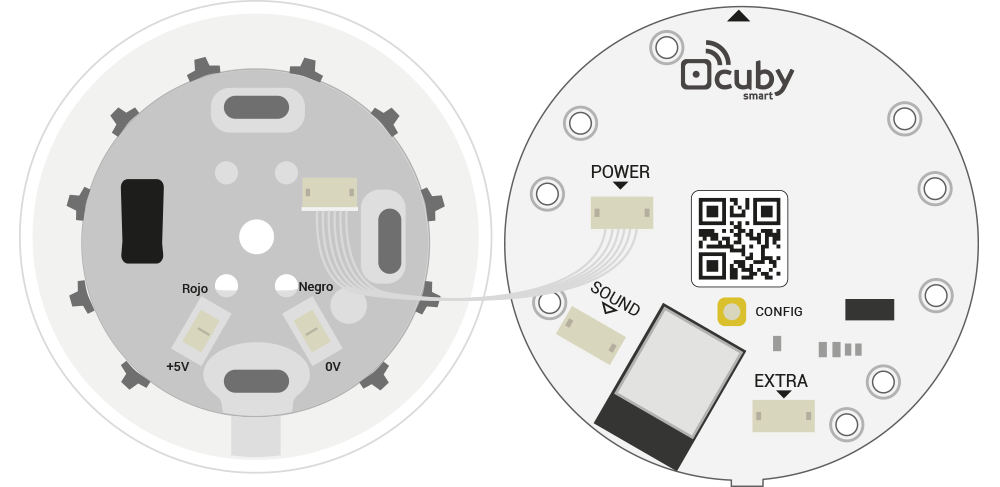
Back side of the glass
When removing the glass, you will notice that it remains connected to the base in the cabinet.
2. INSTALLATION
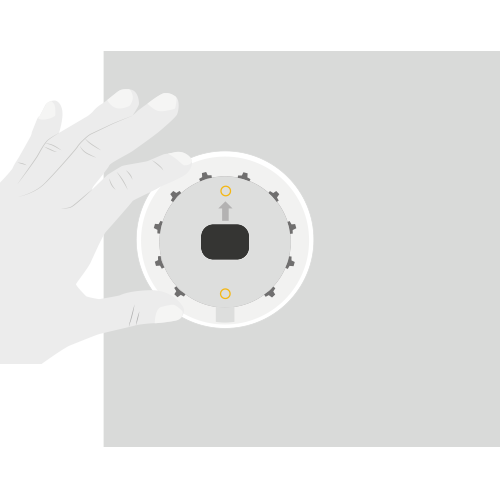
- Place the base of the Cuby Aria on the wall where it will be installed, allowing the power cables through the center and mark the holes with a pencil.
- Using a drill and the correct drill bit (3/16″ for the dowells we send) drill the necessary holes to place the screws, making sure that the depth is sufficient.
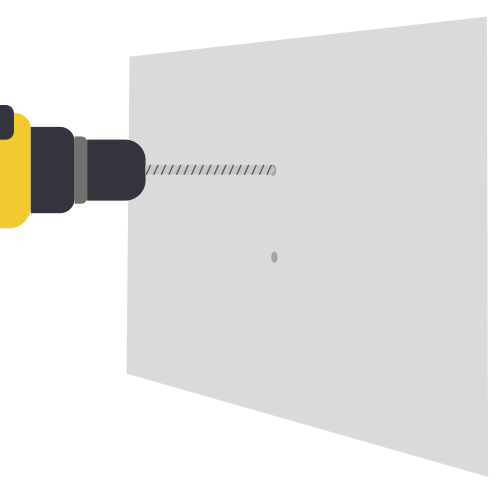
- Place the dowels in the holes you made.
- Screw the back cover of the Cuby Aria to the wall with the arrow on the base pointing up, as shown in the image
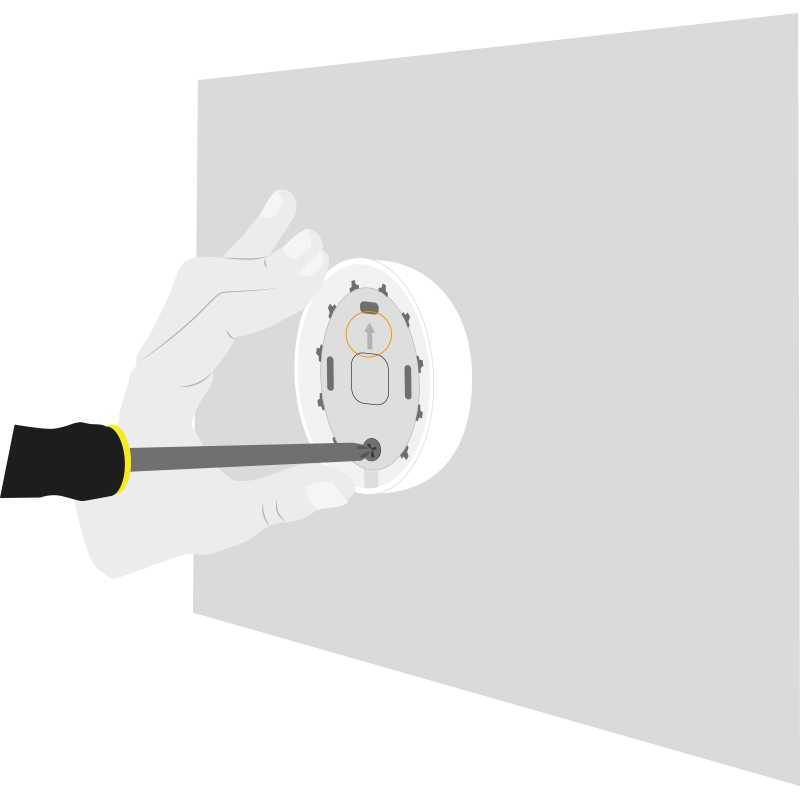
Pass the wires through the bottom of the cabinet.

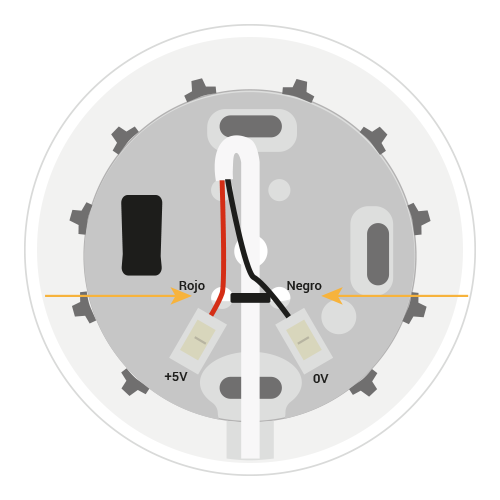
Identify the N~(Neutro) Conector and the L~(Line) from the wall and connect each to its terminal block.
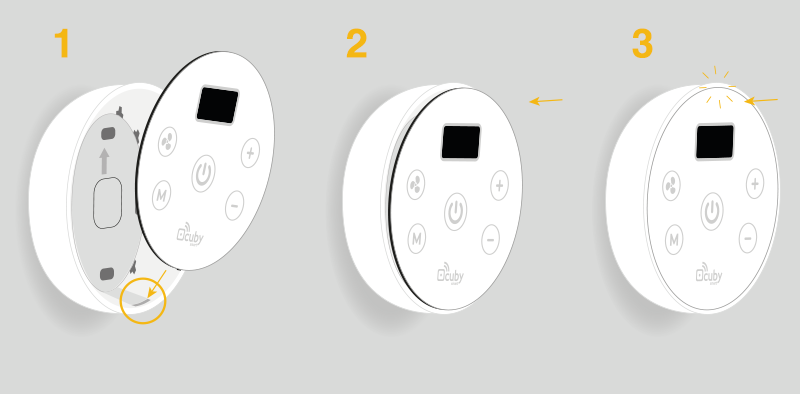
Once connected, insert the glass panel back into the cabinet.
- Place the edge at the bottom of the glass as shown in the picture.
- First insert the edge into the gap in the base of the Cuby Aria that was installed on the wall. (1)
- Push the top part to fit into the base of the Aria(2) until you hear a click.(3)
3. CONNECT YOUR CUBY ARIA IR DC

4. ADD YOUR CUBY ARIA IR DC
- Make sure your Cuby Aria is correctly connected.
- Enter the Cuby App and select the Add Cuby option.
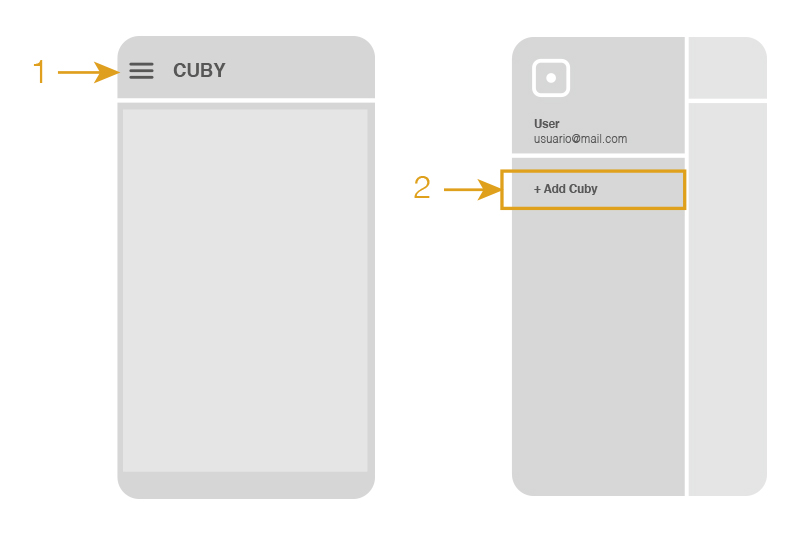
- Follow the steps in the app.
- Wait for the App to find your Cuby Aria. It should not take more than 1 minute.
If the app does not find the Aria, make sure you have the bluetooth and location activated on your cell phone.
If after several attempts it still does not find the Cuby Aria, restart your phone and try again. - Una vez que tu celular detecte el Cuby Aria, te pedirá que lo nombres. Escribe un nombre que identifique dónde estará instalado el Aria.
Once your cell phone detects Cuby Aria, it will ask you to name it. Write a name that identifies where the Aria will be installed.
1.- “Air”
2.- “Air conditioner”
The word “air” “air conditioner” may confuse the assistants that you are asking for cold mode or air condtitioning mode and will not work correctly. - Wait for Cuby Aria to show you the available networks. It may take up to 30 seconds to display the list of networks.
- Select your WiFi network from the list that will appear, remember that you can also access it manually by typing the name and password.
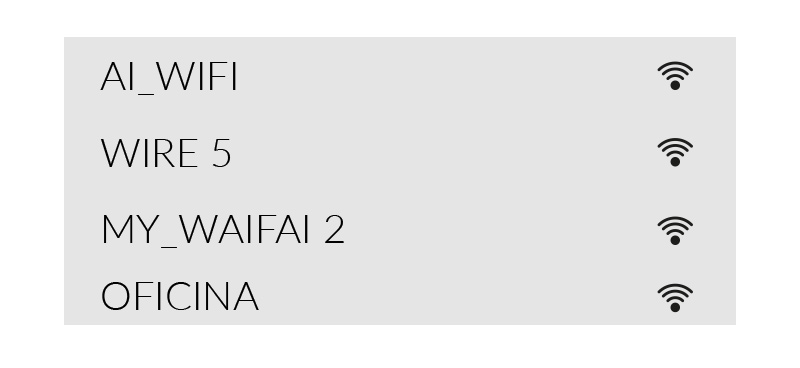
- Once you have selected the network you want your Cuby Aria to connect to, enter the password and press next.
- Wait while your Cuby Aria connects to the Wifi network. This step should not take more than 1 minute.

- Done, you have successfully added your Cuby Aria.
- Remove the glass panel
- In the back of the panel locate the “config” button.
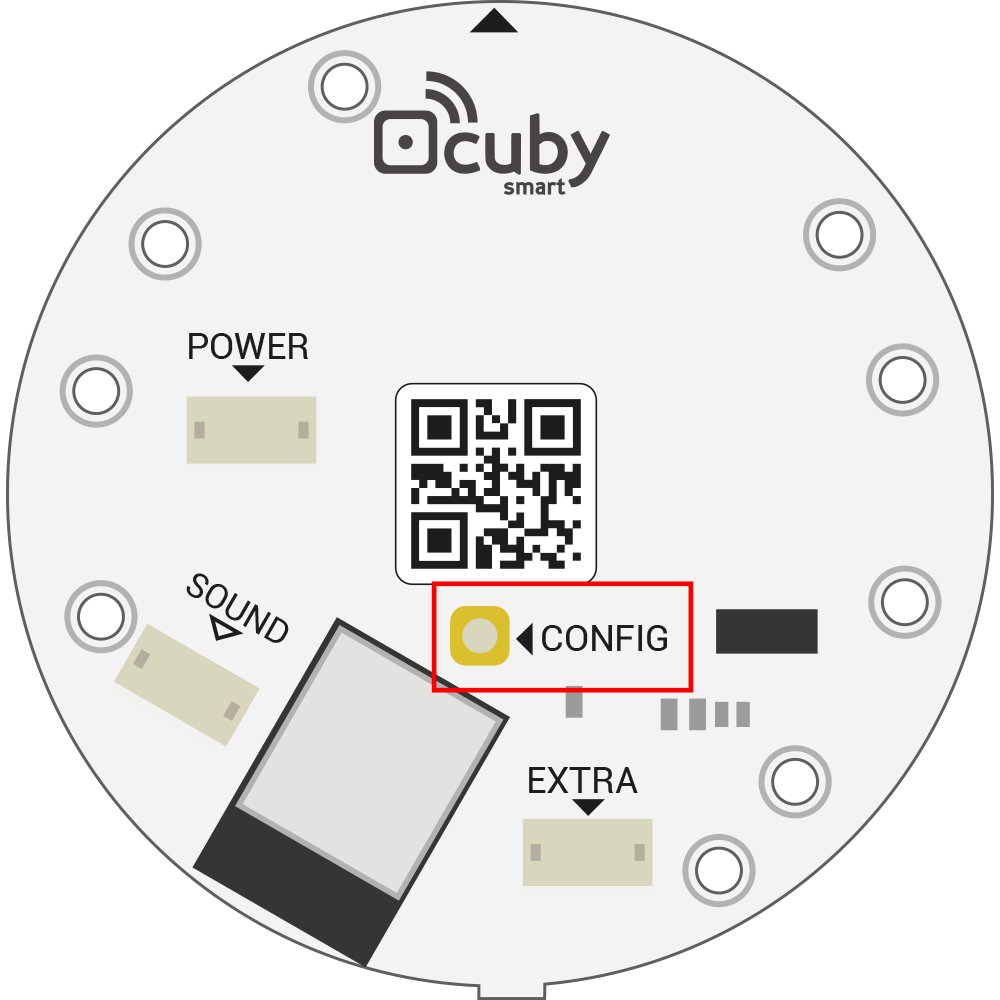
- In the 2/8 step press the “config” button and continue normally.
5. CONFIGURE INFRARED SIGNAL
- Make sure your air is turned off.
- Cuby Aria should be in the same room no more than 6m from the air.
- Go to the app and find your Cuby Aria with the assigned name, click to configure.
- Follow the steps in the app, tap on “start” to test different protocols. During the process, Cuby Aria will send a signal to the air and each time you will be asked if the Air turned on or Beeped, tap on “yes” or “no” as the case may be, this process is manual so it may take a moment to find the correct protocol.
- Once the Air beeps or turns on, press “YES” for the App to display the extended control. Try some of the functions that will be displayed in the App. Then tap on “Works” if the A/C seems to operate correctly. If the temperature is not correct (has a degree offset) you can press the option that says “Not Working” to try other protocols

- Your Aria should now be functional and you will be able to control the A/C normally.
6. TEST
Make sure that when you press the buttons on the Aria the A/C responds correctly.